What is a virtual MIDI bus for?
A virtual MIDI bus carries MIDI from one app to another, so Harmonimo Standalone can send notes to a DAW track, instrument app, external synth path, or another computer.
Virtual MIDI / 01
Use this route when Harmonimo is running as the standalone app and another track, app, or synth should make the sound. Harmonimo sends MIDI; the receiving instrument turns it into audio.
Quick answer
Create or enable a virtual MIDI bus, set Harmonimo Standalone's MIDI output to that bus, then set the receiving DAW or instrument track to listen to the same bus. Arm or monitor the receiving track, play in Harmonimo, and let the destination instrument turn the MIDI into sound.
Section 01
It carries MIDI from one app to another.
Harmonimo sends notes to the bus. Your DAW, instrument app, or hardware path listens to that same bus and plays the sound.
This is most useful when you want Harmonimo as a separate performance surface instead of loading it directly before an instrument inside the DAW.
Section 02
Use virtual MIDI when the standalone route is cleaner than direct plug-in routing.
It is a good fit when your controller mapping is easier in Harmonimo Standalone, when another app should handle the sound, or when you want one Harmonimo setup to feed different destinations.
Section 03
Set the same bus in Harmonimo and on the receiving DAW track.
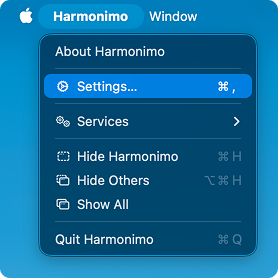
Create or enable a virtual MIDI bus first. In Harmonimo, choose Harmonimo > Settings, set MIDI output to that bus, and apply the change.
In your DAW, set the instrument track's MIDI input to the same bus. Arm or monitor the track, then play in Harmonimo.
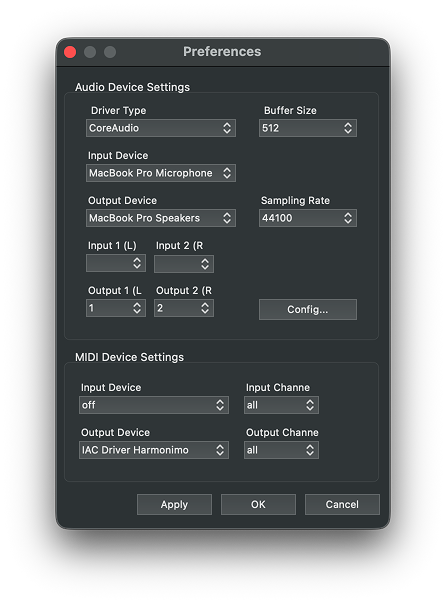
Choose the virtual bus as Harmonimo's MIDI output. Use the same bus as the MIDI input on the DAW track you want Harmonimo to drive.
Section 04
On macOS, the built-in IAC Driver can create the virtual bus.
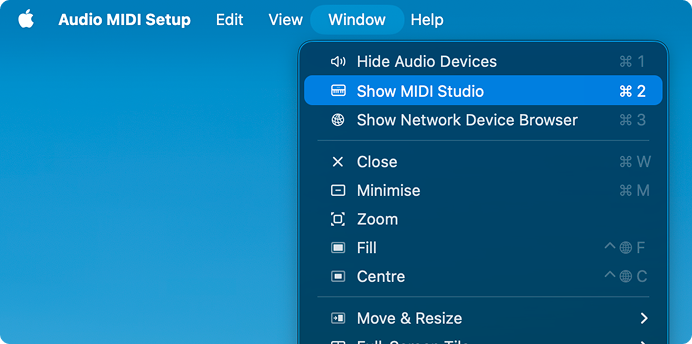
Open Audio MIDI Setup, choose Window > Show MIDI Studio, then double-click IAC Driver. Enable the device and rename the port if you want a clearer label inside your DAW.
Windows does not include this feature by default. A virtual MIDI driver such as loopMIDI can provide the same kind of bus.

Double-click IAC Driver in MIDI Studio.
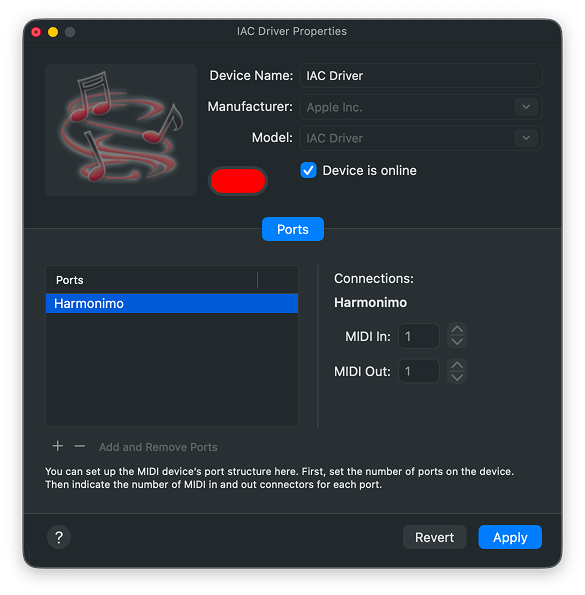
Enable the device and name the port clearly so it is easy to find in Harmonimo and your DAW.
Section 05
Use this only when MIDI needs to travel between computers or devices.
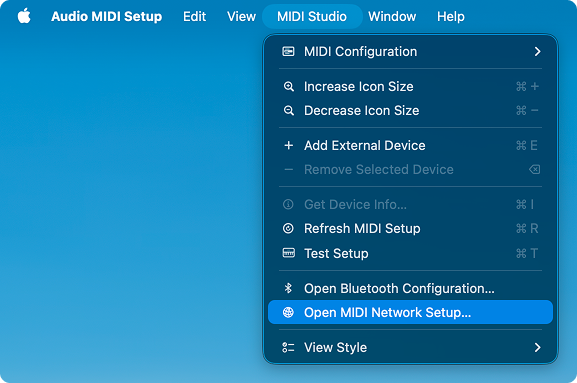
On macOS, open Audio MIDI Setup, choose Window > Show MIDI Studio, then choose MIDI Studio > Open MIDI Network Setup. Create a session, enable it, and allow the other device to connect.
On Windows, Tobias Erichsen's tools are a common route for network MIDI, including sessions with Macs on the same network.
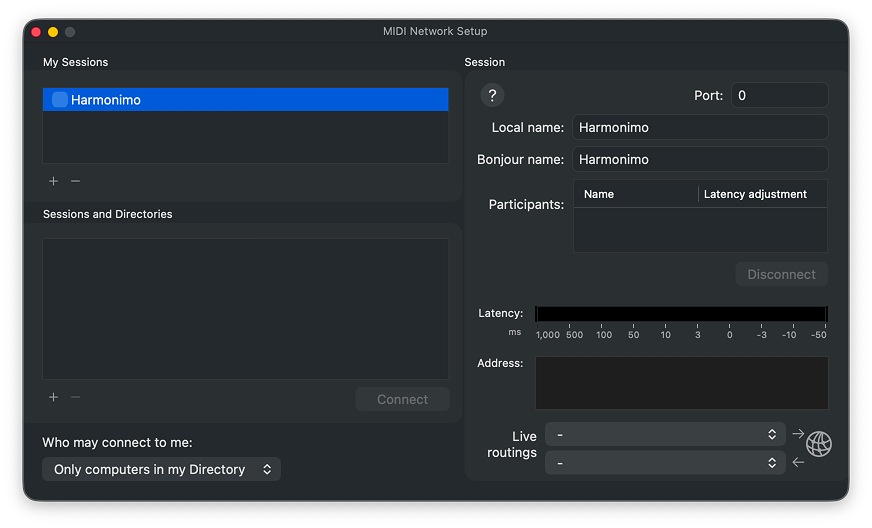
Create and name a session so other devices on the network can see it.
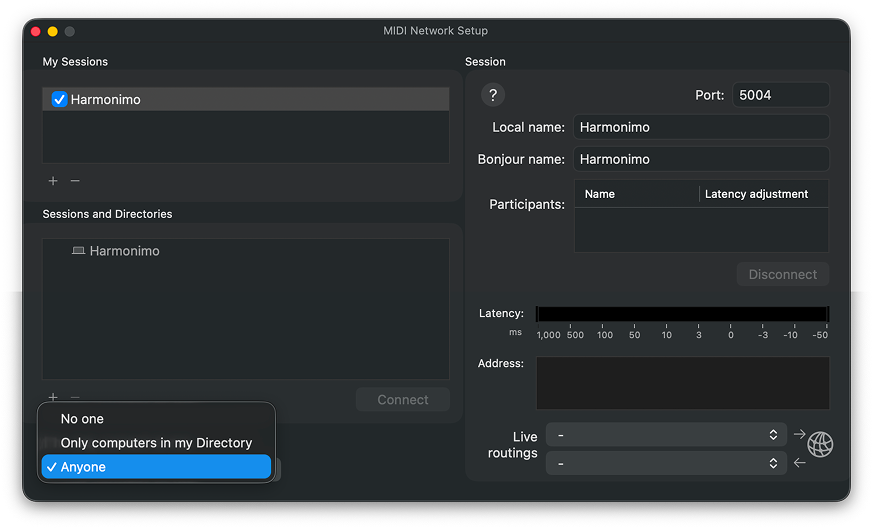
Enable the session and allow connections. Once it is live, use it like any other MIDI destination.
FAQ
A virtual MIDI bus carries MIDI from one app to another, so Harmonimo Standalone can send notes to a DAW track, instrument app, external synth path, or another computer.
Usually no. Use the direct AU or VST plug-in route first. Virtual MIDI is mainly for standalone workflows or setups that need MIDI to leave the host.